Sneak Peak samples

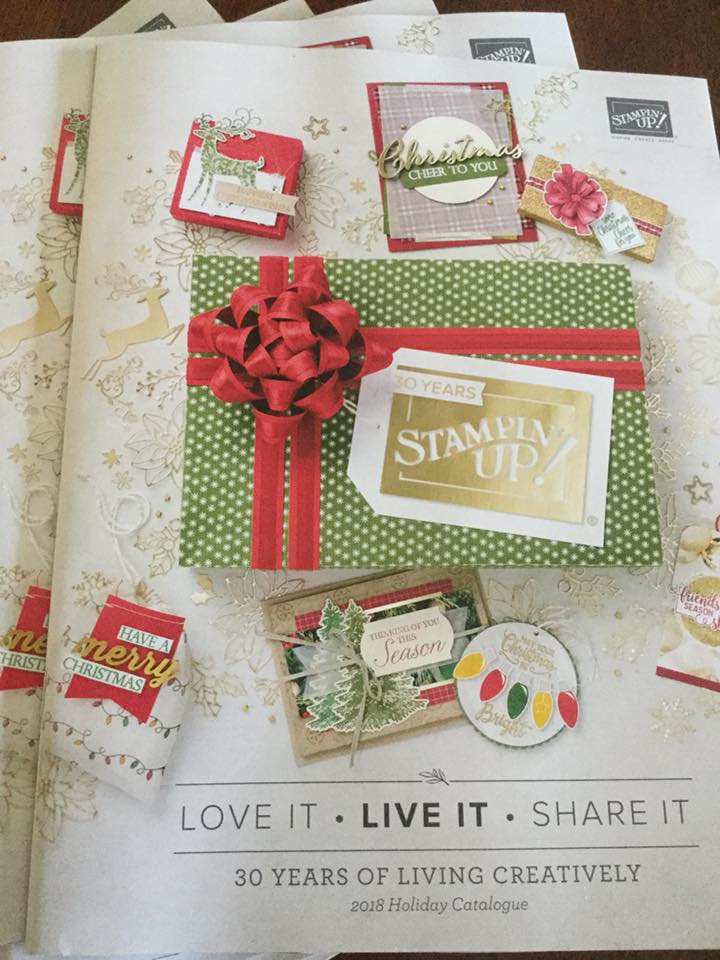
The brand new Holiday Catalogue being released on the 5th September and as a demonstrator I have the amazing opportunity to preorder these items!

I decided on a few 'must haves' and since then I have been inspired by so much more after seeing loads of samples online. I am glad I have some bonus day vouchers to spend in September! 


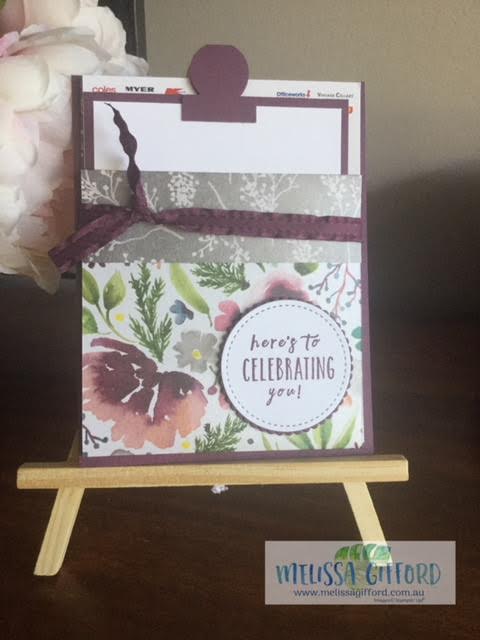
Today's card is quite simple but oh-so-cute! It is from the Santa's Workshop Suite (pages 18-21) . I cased the sample straight from the catalogue. The Santa is actually die cut from the designer series paper AND the paper has flocking on it so the hat is furry!! Such fun. 


Here is a small section of the paper with the dies overlaying just some of the many pieces you can die cut. There is also a coordinating stamp set with the same images so you have the option of stamping and colouring or die cutting. The possibilities are endless. 

This style of card would be a great choice for mass production of cards. Is that how you work? Do you make everyone the same Christmas card or do you make each one individual? I tend to do a bit of both. Best I get started, it's never too early to get organised.   


your photo name

Birthday fun fold pocket cards

As promised, I have some more variations of the fun fold cards I posted the other day. 

My happy accident, I found that you can slip in a gift card if you don't glue the side edges of the dsp.  I made these cards for two friends who had birthdays close to each other. We celebrated with breakfast at a local cafe one morning and these were a nice way to give a small gift to them. 


See how by just changing the designer series paper you can get such a totally different look? I was then able to match the colours with my recipients. The top card uses some brand new designer series paper coming out in the new Holiday catalogue called Frosted Floral specialty designer series paper. It is printed on the loveliest shimmery white paper and feels very decadent. It would make stunning wrapping paper too if you are like me and love to match the gift wrapping to the card.   


And they both loved them so that was nice! 
  
Product List
your photo name

Last chance for bonus day vouchers - ends this Friday 31st August.

The end of August is approaching at alarming speed. And that means this month's special offers are about to end too. Don't miss your chance to take advantage of them while you can. 

1. Colour Your Season bundle - see more HERE. The stamp set and framelit dies can also be purchased separately.  


2. Watercolour Pencils in 10 brand new colours - see more HERE


3. Bonus Days - for every $90 you spend you earn a $9 voucher to spend in September. Vouchers are automatically earned and the codes will be emailed direct to you to use in September.  


your photo name

Christmas is fast approaching!!

How exciting! The new holiday catalogue is being released on 5th September and I sent out a whole batch last week to my regular customers. I can never go past a Holiday Catalogue full of seasonal fun and this catalogue does not disappoint!


This is the card I made to send with the catalogues. I always love to play with new products but don't forget there are Holiday stamps and papers in the annual catalogue too. I watched a video from Ronda Wade that showcased this card design and I thought it was a lovely way to showcase the designer series papers. When I say 'card' this is more of a pocket style. Ronda calls it a fun fold pocket card! 

The measurements are quite simple and you can get 3 cards out of one piece of 12x12 patterned paper. And by adding a tab it allows the recipient to pull out the inside panel where you can write your sentiment.

DSP (designer series paper) cut at 10.5" x 4". Score at 5.25" and 9.25" 
Cardstock base 4.25" x  5.5"
Card insert base  3.75" x 5"
White insert 3.5" x 4.75" 

Fold the dsp along the score lines then tie a piece of ribbon before adhering it to the card base. Layer the insert pieces together and add a topper using the circle tab punch. Decorate however you like! 


I have made a heap of these cards and I will show you some birthday styles this week. They are so fun to make and more than a little bit addictive!! There are no rules - use the papers and ribbons you love and make it your own. 


Product List
your photo name

Under the Sea


I don't think I have shared this card with you yet - I made it a few months ago now. 

It was such fun to make, I love these bundles where you can just cut out all different shapes in different colours either stamped or not and then assemble them together. For this card I was inspired by a card on Pinterest - I loved the use of the banner framelit to create an extra layer of interest. 

It might look like a lot of supplies but this is a fantastic way to use up those little scraps of cardstock as each element is not all that large. I then keep any left over pieces for the next project.

I used a base of Tranquil Tide then added Crumb Cake, Whisper White, Soft Suede, Soft Seam Foam and Old Olive.  

I would strongly recommend using the magnetic platform with the big shot machine as these pieces are quite small and once  stamped can be tricky to die cut without the help of magnets! 

Product List
your photo name

Enjoy your special day


Hello crafty friends! I have another quick card to share with you using some beautiful framelits and designer series paper. I love the soft, pastel look of this card. 

I originally saw this idea on another blog by Patty Bennett. I loved the idea of cutting out the framelit with the designer series paper to get a lovely soft floral pattern. There are so many patterns and colours in the Garden Impressions paper pack that you could make a whole bunch of these and they would all look quite different. 

I simply added a label cut from the Stitched Labels framelits in Very Vanilla stamped with Petal Pink ink. 

Why not give it a try yourself? 


Product List
your photo name